

This was my first time using a circular saw.
Some caulking around the edges helped make it look finished:

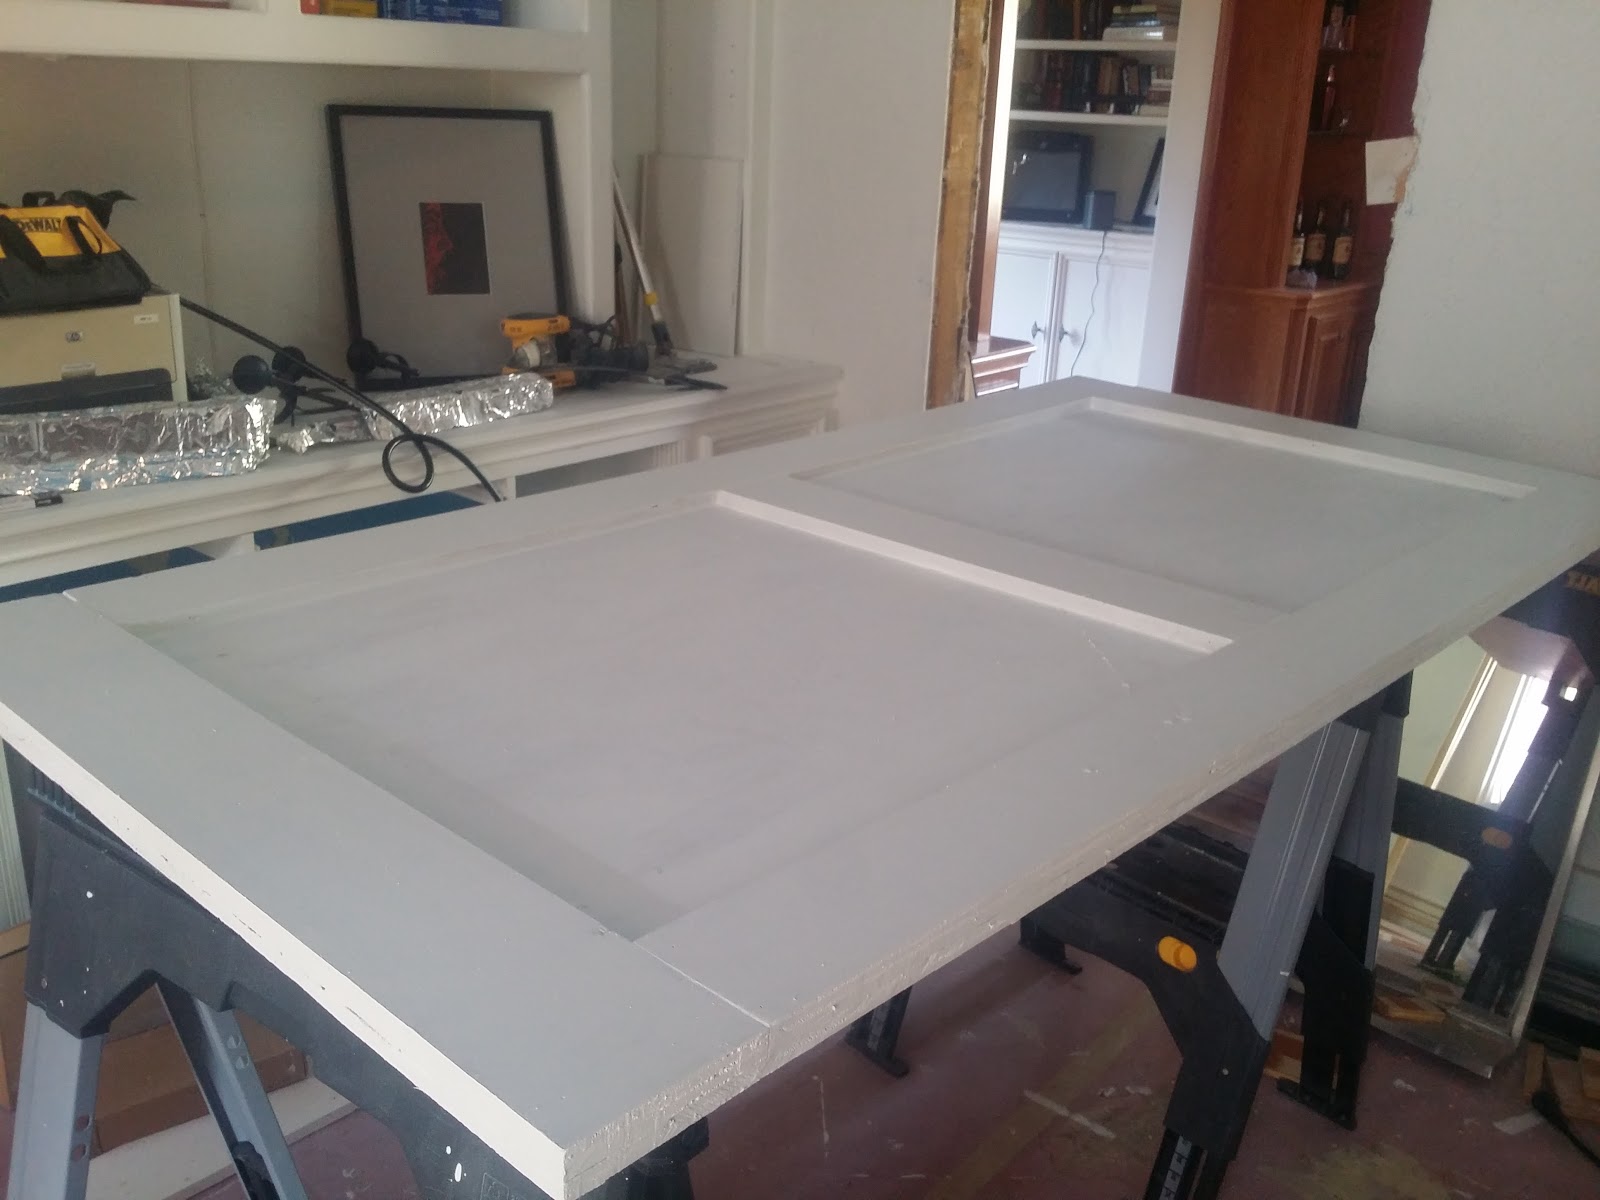
and of course, primer:
To create the insets for the legs, I used a circular saw to make a lot of narrow cuts, then chiseled out the pieces with a wood chisel:

I did the same on the corners:

But I've since learned that it's better to create the base, then place the top on last.

So here's the problem...

I had some trouble getting it out of the door since the clawfoot tub was in the way. A circular saw took care of the issue in a jiffy.
So then it was finally outside and upright.

And at long last my miter saw arrived!

So then I got to building the feeds for the miter saw. Naturally, it was built from scrap materials:
The table top is from the easter bunny room (a.k.a., the sleeping porch)
The wood floor is salvaged from the bathroom
The 2x4s for the table are from the bathroom divider wall that was torn out
The scrap piece of plywood is from under the refrigerator


No comments:
Post a Comment